

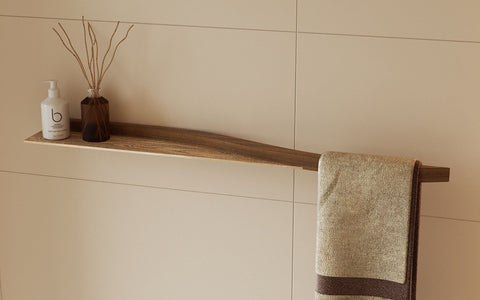
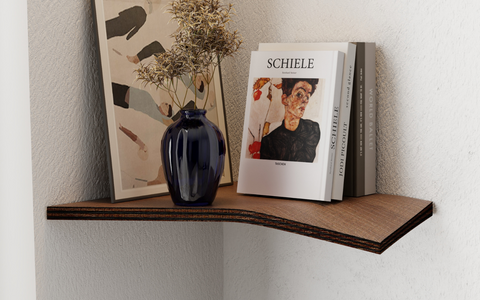
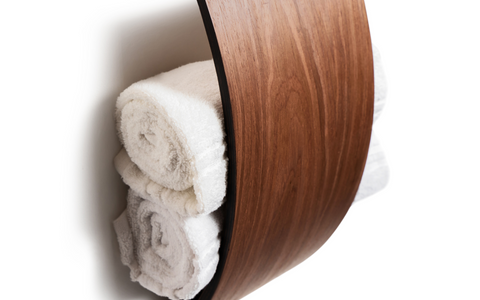
Montageanleitung für das gebogene Wandregal.
Schritt 1: Schrauben in das Regal einsetzen
-
Setzen Sie die Schrauben in die vorgebohrten Löcher des geschwungenen Wandregals ein, sodass die Spitzen nach außen zeigen.
-
Dadurch können Sie die exakten Positionen für die Montage des Regals an der Wand markieren.
Schritt 2: Bohrpunkte an der Wand markieren
-
Halten Sie das schwebende geschwungene Regal in der gewünschten Höhe an die Wand.
-
Verwenden Sie eine Wasserwaage, um sicherzustellen, dass das Regal gerade ausgerichtet ist.
-
Drücken Sie das Regal leicht gegen die Wand, damit die Schraubenspitzen präzise Bohrmarkierungen hinterlassen.
Schritt 3: Löcher bohren und Dübel einsetzen
-
Bohren Sie an den markierten Stellen Löcher in die Wand.
-
Wählen Sie die passenden Dübel entsprechend Ihrem Wandtyp:
-
Beton- oder Ziegelwand → verwenden Sie robuste Dübel.
-
Trockenbau- oder Gipskartonwand → verwenden Sie spezielle Hohlraumdübel.
-
Holzwand → die Schrauben können direkt ohne Dübel montiert werden.
-
-
Setzen Sie die Dübel bündig mit der Wandoberfläche ein.
Schritt 4: Schrauben befestigen
-
Drehen Sie die Schrauben in die Dübel ein und ziehen Sie sie mit einem Schraubendreher fest.
-
Lassen Sie die Schraubenköpfe leicht herausstehen, damit das geschwungene Wandregal sicher aufgeschoben werden kann.
Schritt 5: Das geschwungene Regal montieren
-
Richten Sie das Regal an den Schrauben aus.
-
Drücken Sie das geschwungene schwebende Wandregal fest auf die Schraubenköpfe, bis es sicher sitzt.
-
Kontrollieren Sie mit der Wasserwaage noch einmal, ob das Regal gerade montiert ist.
Abschließende Kontrolle
-
Prüfen Sie die Stabilität, indem Sie leichten Druck auf das geschwungene Wandregal ausüben.
-
Ziehen Sie die Schrauben nach, falls sich das Regal locker anfühlt.
-
Sobald alles fest sitzt, ist Ihr modernes geschwungenes Regal einsatzbereit.
Weitere Inspirationen
Balancierspielzeug Kopfhörerständer Handyhalter Schreibtisch-Organizer
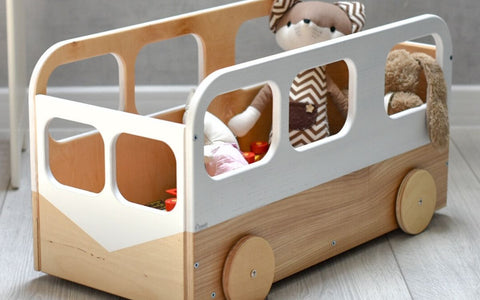
Badezimmerhaken Kindermöbel Pikler-Dreieck Toilettenpapierhalter
Badezimmerspiegel Kinderregal Regale Handtuchhalter
Badezimmer-Tritthocker Küchen-Organizer Sofa-Armlehnen-Tablett Weinständer
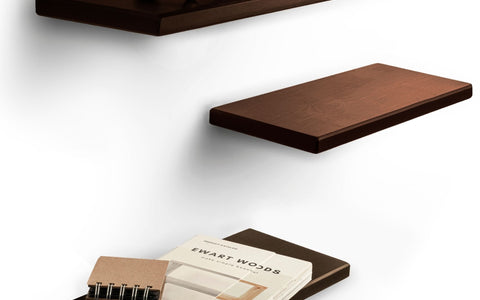
Wanddekoration Messerhalter Gewürzregal Holzregal
Schwebender Nachttisch Metallregal Stehender Nachttisch


Dejar un comentario