

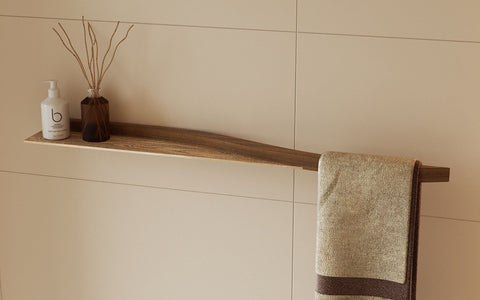
Montageanleitung für das Floating Wave Shelf
Schritt 1: Die T-Befestigungen vorbereiten
-
Setzen Sie die kleinen Schrauben in die Metall-T-Befestigungen auf der Rückseite des Regals ein.
-
Stecken Sie die T-Befestigungen in die vorgebohrten Löcher des Regals.
-
Die geformten Enden der kleinen Schrauben sollten auf der Außenseite des Regals sichtbar bleiben.
-
Schritt 2: Bohrpunkte an der Wand markieren
-
Halten Sie das Regal an die gewünschte Position an der Wand.
-
Stellen Sie mit einer Wasserwaage sicher, dass das Regal exakt waagerecht ausgerichtet ist.
-
Die Enden der kleinen Schrauben drücken leicht gegen die Wand und hinterlassen Markierungspunkte, an denen später gebohrt werden muss.
Schritt 3: Löcher bohren und Dübel einsetzen
-
Bohren Sie an den markierten Stellen die entsprechenden Löcher.
-
Verwenden Sie die passenden Dübel für Ihren Wandtyp (Ziegel, Trockenbau oder Beton).
-
Dadurch wird maximale Stabilität gewährleistet und ein Durchhängen des Regals verhindert.
-
Schritt 4: Die T-Befestigungen an der Wand befestigen
-
Richten Sie die T-Befestigungen an den gebohrten Löchern aus.
-
Befestigen Sie die T-Befestigungen mit Schrauben fest in den Dübeln.
Schritt 5: Das schwebende Wandregal montieren
-
Schieben Sie das Regal vorsichtig auf die befestigten Metall-T-Befestigungen.
-
Drücken Sie es an die Wand, bis es bündig anliegt.
-
Kontrollieren Sie erneut mit der Wasserwaage, ob Ihr schwebendes Wandregal perfekt gerade montiert ist.
Pflegetipps
-
Belasten Sie das Regal nicht über die empfohlene Traglast hinaus.
-
Überprüfen Sie regelmäßig den festen Sitz der Schrauben.
-
Reinigen Sie das Regal mit einem weichen, trockenen Tuch, um die Oberfläche zu schützen.
Weitere Inspirationen
Balancierspielzeug Kopfhörerständer Handyhalter Schreibtisch-Organizer
Badezimmerhaken Kindermöbel Pikler-Dreieck Toilettenpapierhalter
Badezimmerspiegel Kinderregal Regale Handtuchhalter
Badezimmer-Tritthocker Küchen-Organizer Sofa-Armlehnen-Tablett Weinständer
Wanddekoration Messerhalter Gewürzregal Holzregal
Schwebender Nachttisch Metallregal Stehender Nachttisch


Dejar un comentario